
Camera Case Setup: How to Protect and Organise a Working Kit
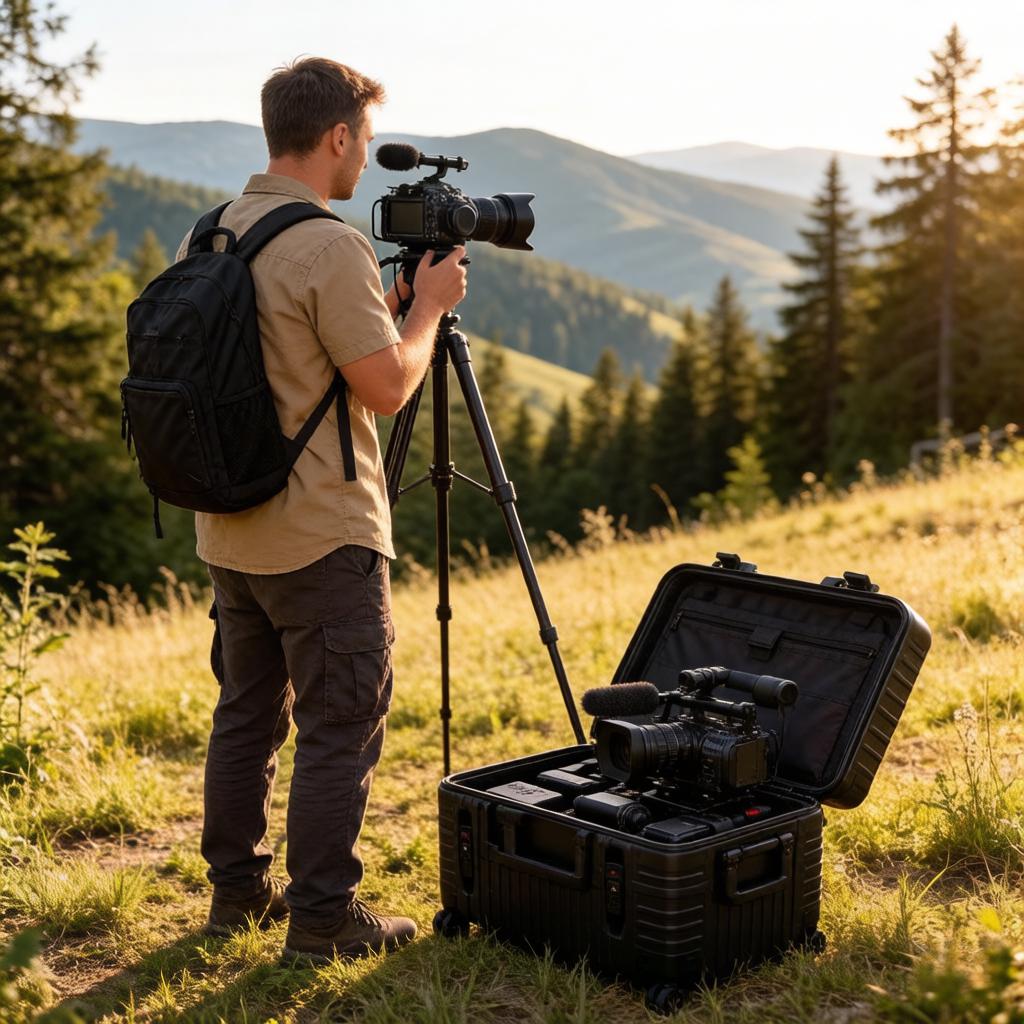
A camera bag is honest about what it is: fabric, padding, and a shoulder strap. It stops being enough the moment your kit grows past one body and one lens — not because the bag is badly made, but because soft walls cannot hold a shape, and a kit that cannot hold a shape becomes a pile you dig through on location.
A hard camera case changes the problem. It gives the kit a fixed geometry: every item has a coordinate, the shell takes the knocks, and the interior does the work of keeping things apart. That is protection and organisation in the same object, which is why so many working photographers eventually stop buying bags and start buying cavities.
This guide is about building that cavity properly — the numbers that decide whether your gear actually fits, the three ways to lay out the inside, and the habits that keep the layout honest after the first hundred trips.
What a working camera case has to solve
Protection is the headline requirement, but it is not the only one, and buying on impact resistance alone is how people end up with a case that is heavy, empty in the wrong places, and slow to open.
|
Requirement |
What it actually means |
How to check it before you buy |
|
Impact resistance |
The shell absorbs a drop or a crush instead of passing it to the body and lens mounts |
Shell material and wall construction; whether the case is rated crushproof and stackable |
|
Sealing |
Dust, sand, spray and rain stay outside — not just “splash-resistant” |
Actual IP rating, plus a continuous O-ring gasket rather than a foam strip |
|
Weight |
The case has to be light enough that you still carry it on the last day of the trip |
Empty weight and weight with foam, both published separately |
|
Interior configurability |
The inside can be shaped to your kit, and reshaped when the kit changes |
Which interiors the model is offered in: precut, cubed, empty, divider insert |
|
Access |
You can open it, see everything, and close it without a search |
Latch type, lid opening style, and how the lid divides from the base |
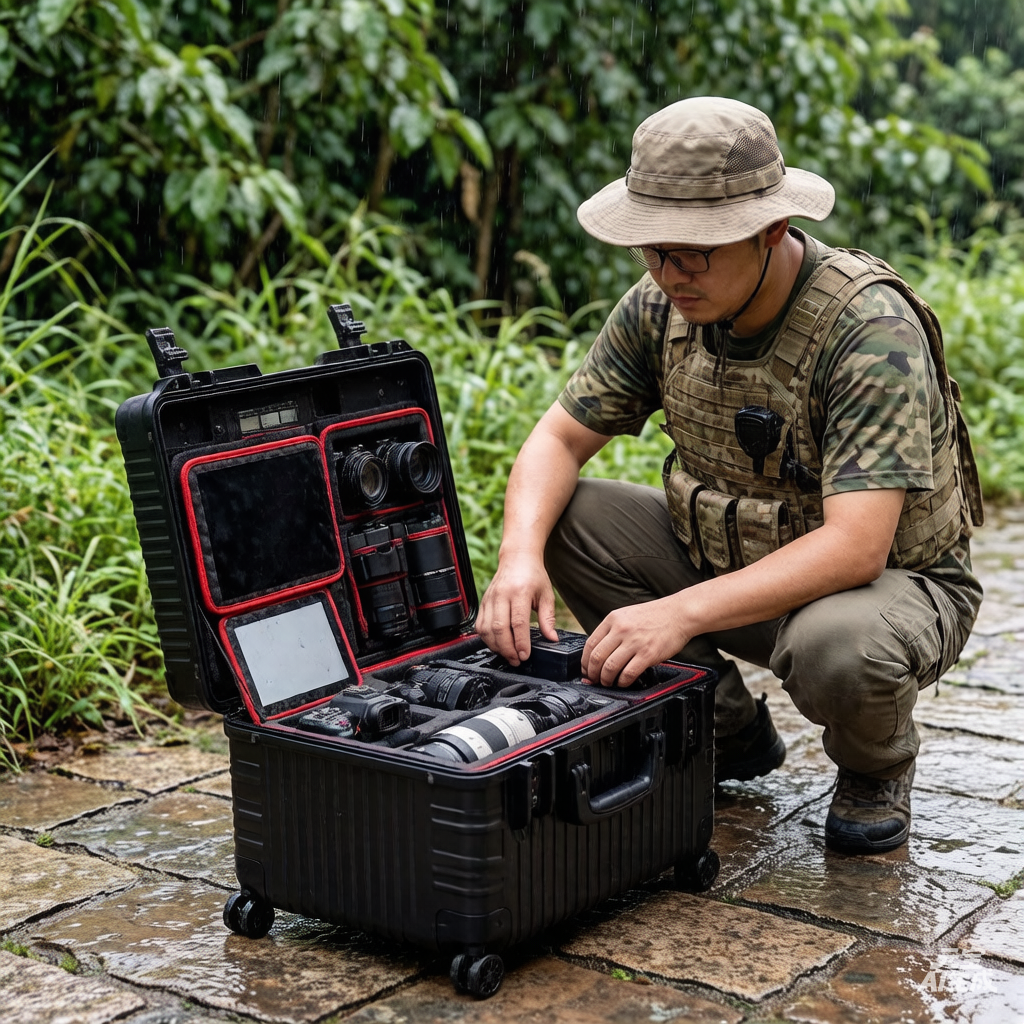
Miss the last two and you get a case that protects gear you no longer want to open.
The number most buyers never read: the depth split
Every case in this class is two cavities, not one. A base and a lid, separated by the gasket line — and each has its own depth. Buy on “total depth” alone and a tall body will not close, because most of the depth is in the base and the lid is a shallow tray.
Three real examples from the Tsunami range:
|
Model |
Total depth |
Base depth |
Lid depth |
What the split means in practice |
|
443419 |
190 mm |
143 mm |
47 mm |
A gripped body or a lens standing on end must fit under 143 mm; the 47 mm lid takes cards, filters, cables, a folded strap |
|
533120 |
200 mm |
160 mm |
40 mm |
Taller base for a body plus a mounted lens; a thin lid that is not where you store anything fragile |
|
TAS-20 |
180 mm |
110 mm |
70 mm |
A shallow base with a deep hinged lid, because the case opens from the top and the lid carries the modular compartment layer |
The practical rule: measure your tallest item as it will be packed, and compare it to the base depth, not the total. A 190 mm total sounds generous until you realise 47 mm of it belongs to the lid. If your body with a cage comes to 155 mm, the 443419 will still close — but only if the foam under it is removed, and then the lid has nothing to compress against. Closing is not the same as protecting.
Three ways to build the inside — and how to choose in thirty seconds
The interior is where a case becomes either a system or a box of loose equipment. There are three architectures, and the choice is not about quality. It is about how often the kit changes.
1. Precut or factory-shaped foam — for a kit that does not change. Each item has a destination cut into PU foam, usually across three or four layers. Nothing shifts, nothing rubs, and the layout can be read at a glance. The trade-off is fixed geometry: a new lens means a new foam set.
2. Self-cut or cubed foam — for a kit you are still defining. The foam arrives pre-scored in a grid, and you pluck the shape you need. It is the most forgiving option for a first hard case, because you can adjust the layout after a month of real use. Mistakes cost you a layer, so measure twice — but the cost of being wrong is small.
3. Divider inserts — for a kit that evolves. Adjustable padded dividers create bays you can reconfigure between assignments without buying anything. The 443419 is offered with a custom divider insert for exactly this reason: swap a 24–70 for a 70–200 and the interior changes in a minute. Dividers are slightly less rigid than foam against a hard impact, and better at separating items that need to be reached constantly.
A thirty-second decision test: if you could pack this case blindfolded and land the same layout twice, you want foam. If you would have to think about it, you want dividers.
The case that anchors the system: 443419
The 443419 is the compact end of Tsunami’s camera line, and it is a good place to start because its numbers are unambiguous.
|
Specification |
443419 |
|
External dimensions |
474 × 414.5 × 245.3 mm |
|
Internal dimensions |
444.7 × 345.8 × 190 mm |
|
Internal volume |
18.6 L |
|
Depth split |
143 mm base + 47 mm lid |
|
Weight with foam / empty |
4.9 kg / 4.45 kg |
|
Body material |
PP + fiber |
|
Foam layers |
3 |
|
Latches |
2, double-throw, trigger release |
|
Water and dust |
IP67 — dust-tight, submersible to 1 m for 30 minutes |
|
Environmental rating |
MIL-STD-810F resistance to UV, solvents, corrosion and fungus |
|
Sealing |
Continuous rubber O-ring plus automatic pressure equalisation valve |
|
Hardware |
Stainless steel pins, molded-in hinge, padlock-ready lock holes |
|
Temperature range |
-40 °C to +90 °C |
|
Warranty |
Lifetime on the body |
18.6 litres is enough for one body, two or three lenses, and the accessories that usually live in a pocket until they are lost: batteries, cards, filters, a blower, cables, a small clamp. It stays a hand-carry case at 4.9 kg with foam, which is the point — a case you can lift with one hand is a case you will actually bring.
Three details matter more than the headline specs. The O-ring is a continuous rubber gasket compressed by the latches, not a glued foam strip that degrades at the corners. The pressure valve equalises after an altitude or temperature change so the lid does not lock itself shut on arrival. And the interior is offered in several configurations — custom foam, no foam, or self-cut cubed foam — with a nameplate service if the case needs to carry a kit ID or a company name.
Tsunami publishes the test documents for this model — IP67, dust, and dry heat certificates — which is the part worth asking any supplier for, because “waterproof” is a word and a certificate is a result.
Organising the kit so it stays organised
A layout is only useful if it survives contact with a real shoot. These five habits do most of the work.
Give the case four zones, not one cavity. A primary bay for the body with a lens mounted, a secondary bay for two spare lenses, a utility strip for batteries, cards and filters, and a thin top layer for cables and flat items. Zones are what let you pack in the dark and find things in daylight.
Put the sealing edge off limits. The gasket channel around the rim is the one part of the interior that must never be loaded. A cable or a strap trapped in that channel will hold the lid open by two millimetres and quietly cancel the IP rating. Route cables inside the zones, never across the rim.
Run a battery and card protocol. Charged batteries in one slot, spent batteries in another, cards in a fixed wallet with a used side. It sounds bureaucratic until the first time you shoot a job with a card you thought was empty. The case makes the protocol possible because the slots do not move.
Use the lid as staging, not storage. The 47 mm lid on the 443419 is best treated as a tray for the things you need while the case is open — cards, a lens cloth, a filter — and returned to their slots before the lid closes. A lid packed with loose items is the most common way a hard case arrives with a rattle and a scratch.
Label once, permanently. A strip of tape and a marker on each divider, or a nameplate if the case is one of several in a kit room, removes the “which case has the 85mm” question from every shoot.
One more habit worth naming: close the case with everything in it, on the floor, before you leave. A case that closes under its own weight with the latches meeting cleanly is packed correctly. A case that needs a knee on the lid is packed wrong, and the foam is being compressed where it should be protecting.
When the kit outgrows the compact case
Two upgrade paths, and they solve different problems.
The kit got heavier — 533120. Same IP67 sealing and the same PP + fiber shell, but 32.8 litres of interior (530 × 310 × 200 mm) with a 160 mm base depth, four latches instead of two, two silent casters and a retractable pull rod. At 5.75 kg with foam, this is the case for a body, three or four lenses, a small light and a laptop, moved through terminals and car parks rather than carried on a shoulder. The 7 mm padlock holes take a standard TSA-accepted lock.
The kit flies and cannot be checked — TAS-20. A different format altogether: a top-opening carry-on at 577 × 400 × 200 mm externally, 475 × 350 × 180 mm internally (29.9 L), with four spinner wheels, an aluminium multi-stage handle and layered modular compartments with EVA padding. It is IP65 rather than IP67 — dust-tight and protected against water jets, which covers rain, spray and a wet loading dock, but not submersion. The top-opening lid is the design decision that matters here: you can get to the body and one lens without laying the whole case flat on an airport floor.
Choose by journey, not by capacity. A 32.8-litre wheeled case that never leaves the studio is a worse purchase than an 18.6-litre case you carry everywhere.
Five questions before you buy
1. What is the tallest item, measured as packed? That sets the base depth you need — not the total depth on the spec sheet.
2. Will the kit be the same in twelve months? If not, buy the interior that can change: cubed foam or a divider insert.
3. How far do you actually carry it? Distance, not volume, decides whether you need casters and a pull rod.
4. Does the case fly? Carry-on means exterior dimensions and a TSA-accepted lock; checked means a rigid shell and a seal you are willing to inspect.
5. Can the supplier show test documents? IP67, dust and dry heat certificates are the verifiable part of a waterproof claim.
Build the case around the work
A camera case earns its price twice: once when the shell takes a hit that would have reached a lens mount, and again every single day, when you open it and everything is where you left it. Protection without organisation gives you a heavy box. Organisation without protection is a bag with better dividers.
Tsunami builds both into the same object — continuous O-ring sealing, pressure equalisation, stainless hardware, and interiors offered in precut foam, cubed foam, empty, or custom divider layouts, with logo, colour, insert and nameplate customisation for studio and OEM programmes. Every hard case carries a lifetime warranty on the body; the TAS-20 carry-on line is covered for one year.
Browse camera cases — or send us your kit list and we will match the interior to it.

At the end of the article, there is a large release of the latest e-catalogue. Identify the QR code to download the plastic hard cases latest e-catalogue. Don’t miss it ~
Scan the QR code below to get the latest e-catalogue ~
E-mail: info@tsunamicase.com
WhatApp:+8619128989453
website:https:www.tsunamicase.com
Post time: Nov-05-2026